Customer/Vehicle
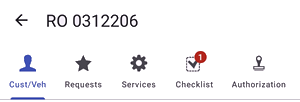
Tap the Cust/Veh toolbar button  to see the ticket's customer and vehicle information.
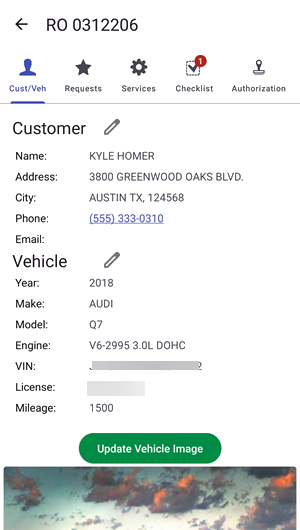
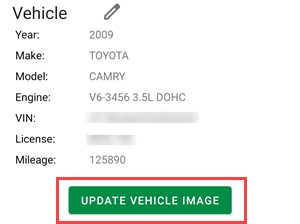
The Customer/Vehicle tab displays the following information:
- Customer Name
- Customer Address
- Customer City
- Customer Phone Number (tap to open the dialer on your phone)
- Customer Email Address (tap to open the email app on your phone)
- Vehicle Year, Make, Model, Engine
- Vehicle VIN
- Vehicle License Number
- Vehicle Mileage
- Vehicle Image
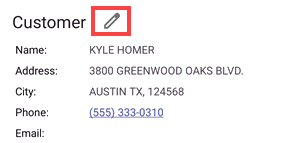
Editing Customer Information
Complete these steps:
-
Tap the edit icon next to the Customer heading.
-
Edit the information in the fields.
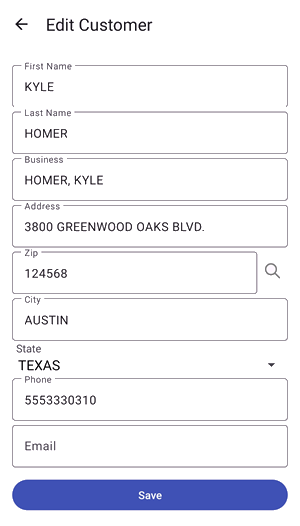
- Tap Save.
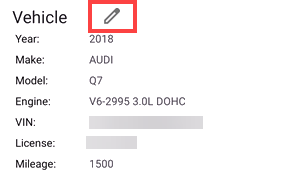
Editing Vehicle Information
Complete these steps:
-
Tap the edit icon next to the Vehicle heading.
-
Edit the information in the fields.
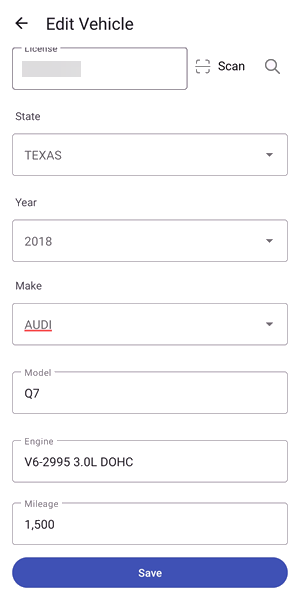
You can also scan or search for a VIN or License plate number to automatically add the information.
- Tap Save.
Adding a Vehicle Image
You can add an image of the vehicle to the vehicle record.
Complete these steps:
-
Tap the Update Vehicle Image button.
-
Click the Camera button to take a picture with the phone.
Click the Gallery button to select an image stored on the phone.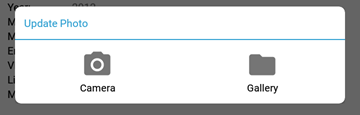
-
Add a Comment to the image.
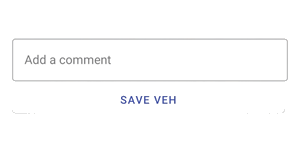
- Tap the Save Veh button.
Scanning License Plates to Edit Vehicle Information
Complete these steps:
- Log into the DVI app.
-
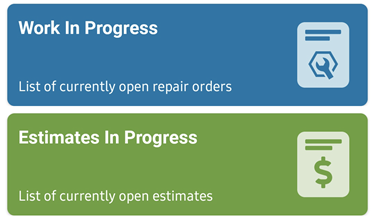
Open a ticket either in the Work In Progress or Estimates section.
-
Tap the Cust/Veh toolbar button.
-
Tap Edit next to the Vehicle header.
-
Tap the Scan button to scan the license plate.
NOTE: If the user has CARFAX, after they scan the license plate, they can use QuickVIN to return the VIN number.