R.O. Writer DVI App Configuration
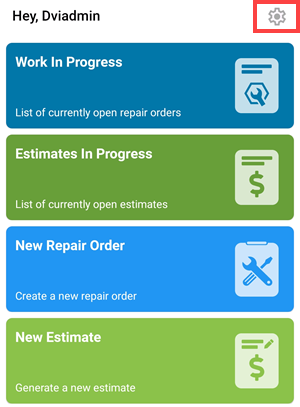
You can access app configuration on the home screen via the gear icon.
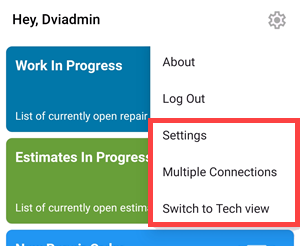
The settings menu enables you to:
-
Change the image and video resolution.
-
Add another data location.
-
Switch to Tech View.
Changing the Image and Video Resolution
Complete these steps:
-
Tap the menu icon (gear icon).
-
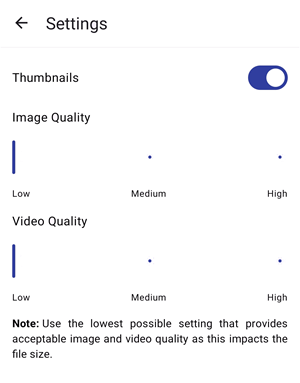
Tap the Settings link.

-
In Settings, you can
-
Enable or disable thumbnails that appear in the tickets list.
-
Use the slider to change the image and video resolution.
-
- Tap the back arrow to save your changes.
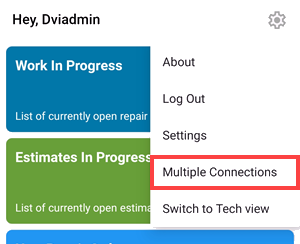
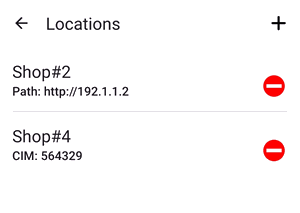
Multiple Connections
Complete these steps:
-
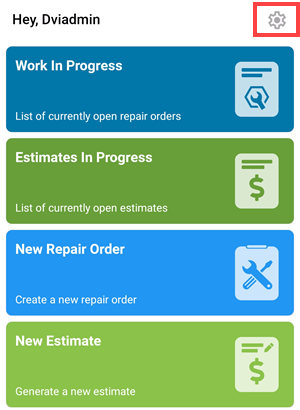
Tap the menu icon (gear icon).
-
Tap the Multiple Connections link.
-
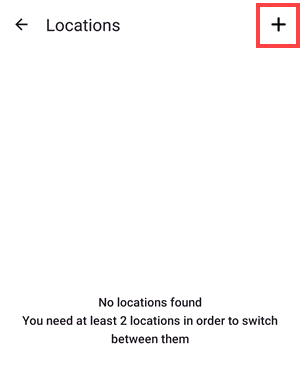
Tap the add icon (plus sign).
-
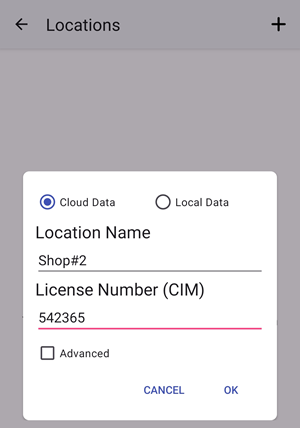
The data location settings appear.
-
For Cloud Data, enter the Location Name and License Number.
-
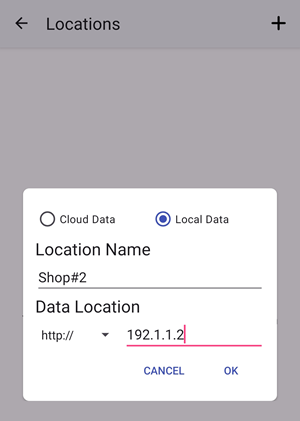
For Local Data, enter the Location Name, select http:// or https://, and type the IPv4 address of your shop’s network in the field provided.
-
- Tap OK.
-
The location is added.
For more information about Data Locations, click the following link: Setting the Data Location.
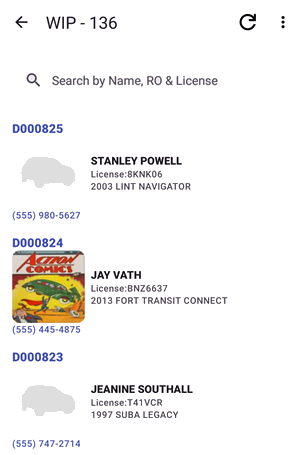
Switching to the Tech View
Tickets are displayed in the Repair Order view by default as shown in the image below.
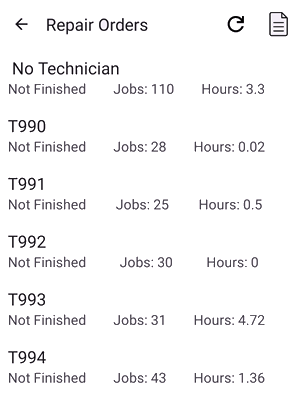
The Tech View allows you to see the number of tickets and jobs assigned to each technician.
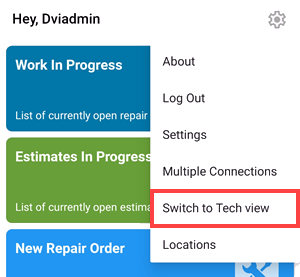
To Switch to the Tech View
Complete these steps:
-
Tap the menu icon (gear icon) and click Switch to Tech View.
-
When you tap Work in Progress or Estimates in Progress, the list displays the tickets sorted by technicians as well as the jobs and hours
The topics in this section include (each link opens a new topic):