Email Settings
In R.O. Writer DVI Command, you can email checklists and other items (videos, images, documents, etc.) to your customer. To email customers, you must configure the email settings.
Click Configuration tab > Email Settings in the column of configuration settings. The Email Settings window opens.
To Configure and Send a Test Email
The following steps walk you through how to make sure you can send and receive emails in DVI Command. You can configure additional settings described in the Email Settings table below.
Complete these steps:
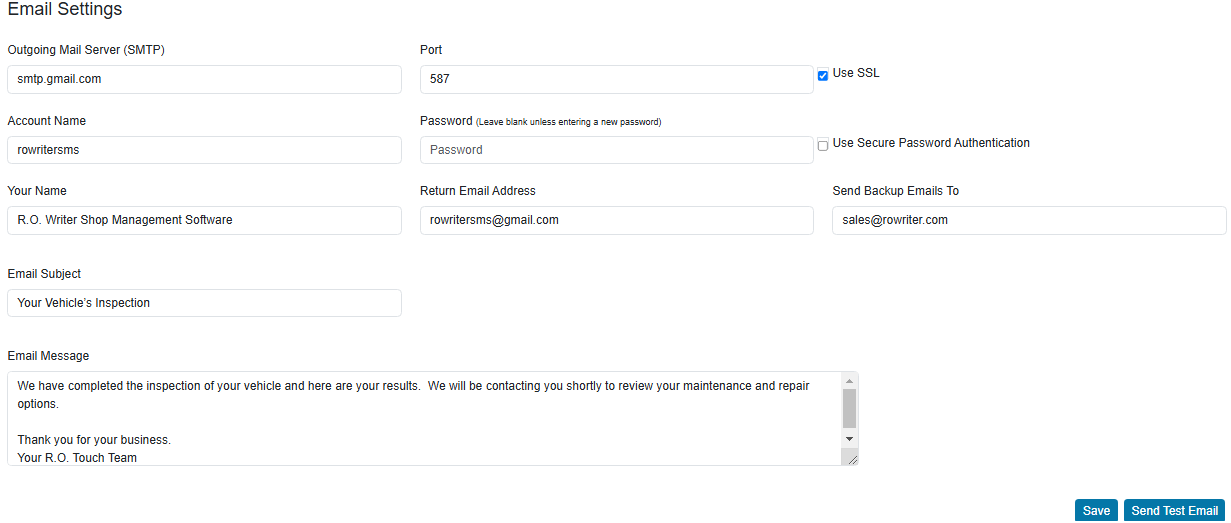
- At the top of the Email Settings window, enter your email details.
- Click Save to save the entered settings.
- Click the Send Test Email button. “Test Email” is the Subject line and body of the email.
- When the email is received successfully, send a reply.
- When the email is received at the email address in the Return Email Address field, your email is configured correctly.
NOTE: Now that your email is configured, refer to the table below to complete the rest of the settings.
Email and Shop Header Settings
|
Setting |
Description |
|---|---|
|
Outgoing Mail Server |
Enter the address of your outgoing or SMTP (Simple Mail Transfer Protocol). This value is provided by your email provider. |
|
Port |
The default port for SMTP is 25. Your email provider might use a different value. |
|
Use SSL |
Check if outgoing emails should be encrypted using SSL (Secure Sockets Layer). |
|
Use Secure Password Authentication |
Check if your provider requires a secure login. |
|
Account Name |
Enter the account name used to log into your email account. |
|
Password |
Enter the password used to log into your email account. |
|
Your Name |
The name of your shop. This is the name that appears at the top of checklists. |
|
Return Email Address |
Enter the email address customers reply to. |
|
Send Backup Emails To |
If an email address is entered here, every email sent is also sent to this address. This is useful for maintaining an archive of sent emails. |
|
Email Subject |
Enter the text you want to use as the default Subject line of every email sent. |
|
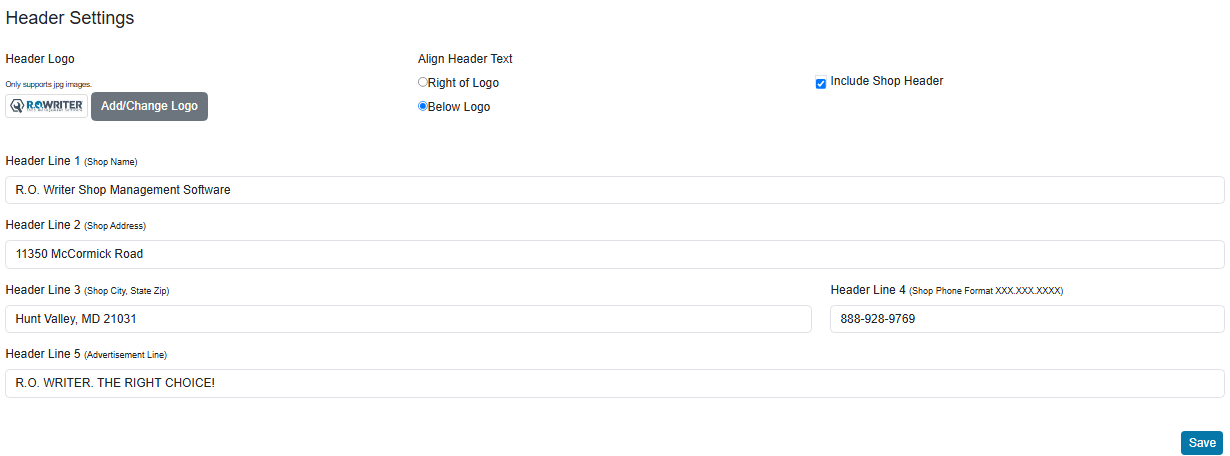
Include Shop Header |
Check to include the shop header at the top of all checklists. The text in the Your Name field appears at the top of the shop header. |
|
Header Logo |
You can add a logo to the top of all checklists. The logo appears on the checklist that is printed, emailed, and texted. The image must be web-compatible (e.g., .jpg, .gif, or .png). The recommended height is 80 pixels. Complete these steps:
|
|
Align Header Text |
Select the alignment of the header text. Header lines can be displayed on the right or below the logo. |
|
Header Lines 1—4 |
Enter the following information in the Header Line fields: Header Line 1 = Your shop’s name Header Line 2 = Your shop’s address Header Line 3 = Your shop’s city, state, and zip code Header Line 4 = Your shop’s phone number |
|
Header Line 5 |
Enter your shop’s advertisement line. This can be a short slogan or tagline. |
|
Email Message |
Enter the text for checklist emails. This text is added to the top of checklist emails. |
|
Save |
Saves all settings. |
|
Send Test Email |
Click to send a test email. The Subject line and body of the email say “Test Email”. |