Checklists
You must configure checklists before you can assign them to tickets. The Checklists setting allows you to add, edit, rename, and remove checklists.
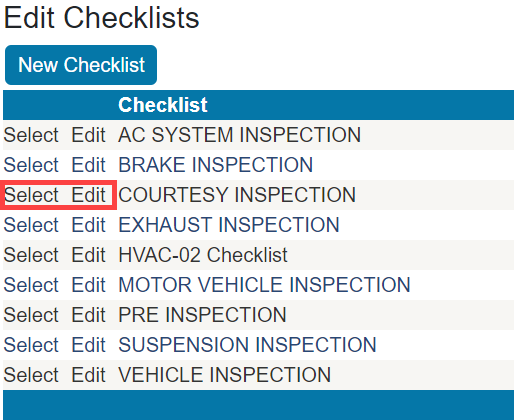
Click the Configuration tab > Checklists in the column of configuration settings. The Edit Checklists window opens showing the list of checklists already created.
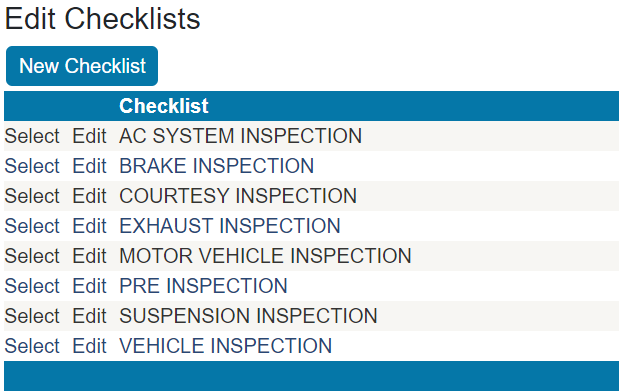
The name of the checklist appears in a column.
The checklist name also appears
- In the R.O. Writer DVI app when the technician adds a checklist.
- In the header row of the checklist table in DVI Command.
-
On the Select Checklist window that appears when a ticket has more than one checklist attached.
-
On the checklist tile of the Reference tab in R.O. Writer.
To Add New Checklists
Checklists are a collection of items that are created in the Checklist Items setting. If no items have been created yet, you can create a checklist with a name, but there will be no items to select.
NOTE: In general, you should configure items before creating checklists.
To Create a Checklist
Complete these steps:
- On the Edit Checklists window, click the New Checklist button.
-
Type in the Checklist Name.
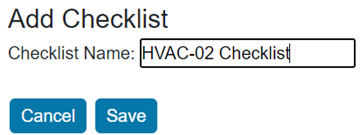
- Click Save.
- Click the Add Item button.
- Select an Item. The Item dropdown list contains all items created in the Checklist Items setting.
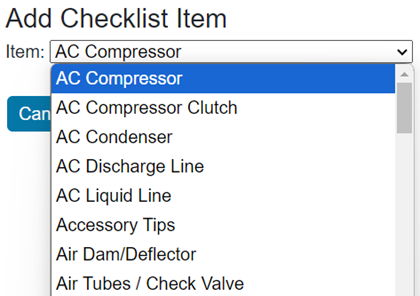
- Click Save. The item is automatically saved and added to the bottom of the list.
- Repeat Steps 4—6 to keep adding items.
- The new checklist appears on the Checklist Configuration window.
To Edit Existing Checklists
You can add items, modify the position of items, and delete items. You can also change the name of the checklist.
Complete these steps:
-
On the Edit Checklists window, click the Select link of the checklist you want to edit.
-
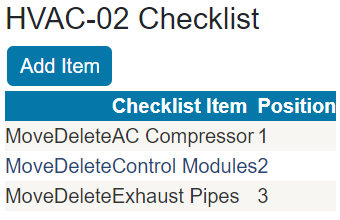
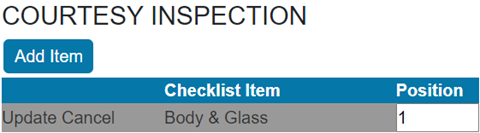
The list of items in the checklist appears.

- To add an item, click the Add Item button. The Item dropdown list appears.
- Select an Item. The Item dropdown list contains all items created in the Checklist Items setting.
- Select an Item. The Item dropdown list contains all items created in the Checklist Items setting.
-
To move an item, click the Move link to change the Position number.
-
To remove an item from the checklist, click the Delete link.
-
To change the name of the checklist, click the Edit link and the name field becomes editable.
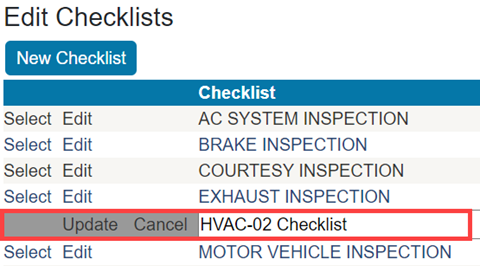
- Click the Update link to save all changes.
- If you changed the name, the new name appears in R.O. Writer DVI Command, the DVI app, and printed checklists.