Accessing Checklists
There are multiple places you can access checklists:
In R.O. Writer DVI Command
Open R.O. Writer DVI Command, and click Checklists at the top of the window. The Checklists window opens displaying a list of tickets with checklists.
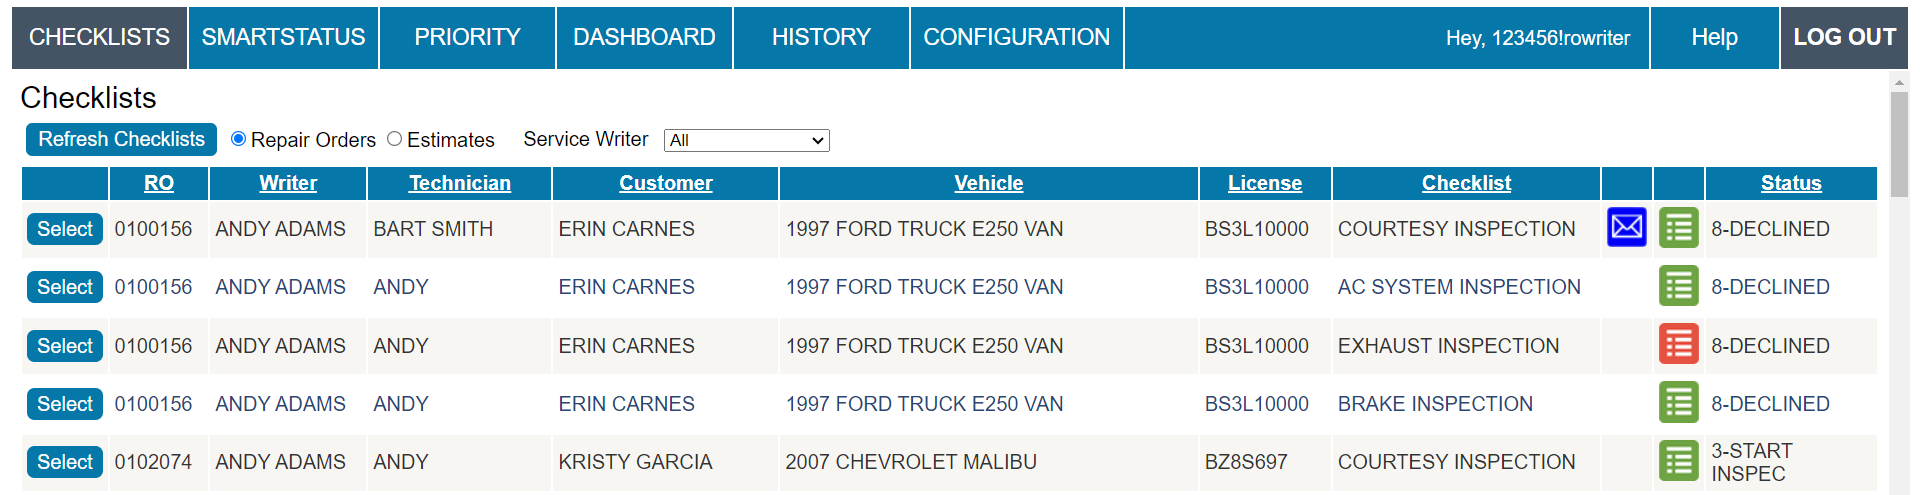
To open the detailed view of one checklist, click the Select link of the checklist you want to open.
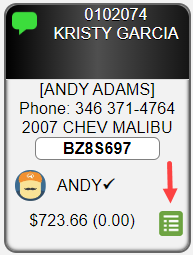
You can also open the detailed view of one checklist by clicking the checklist symbol on the ticket tile on the SmartStatus window.
In the R.O. Writer DVI App
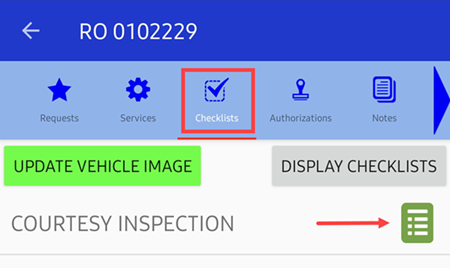
In the R.O. Writer DVI app, open a ticket and tap the Checklists toolbar button. Tap the checklist icon to open the checklist items.
For details about how to complete each item, click the following link: Completing the Checklist.
Checklist Icon
In R.O. Writer DVI Suite, the checklist icon always indicates that a checklist is attached.
|
Icon Color |
Meaning |
|---|---|
|
|
Green means all items passed. |
|
|
Red means at least one item did not pass and needs attention. |


NOTE: In general, clicking or tapping the icon opens the checklist. The only exception is the Checklists window in DVI Command where you have to click the Select link instead.
In R.O. Writer
In R.O. Writer, a checklist tile is added to the Reference tab of the ticket in the Invoice area.
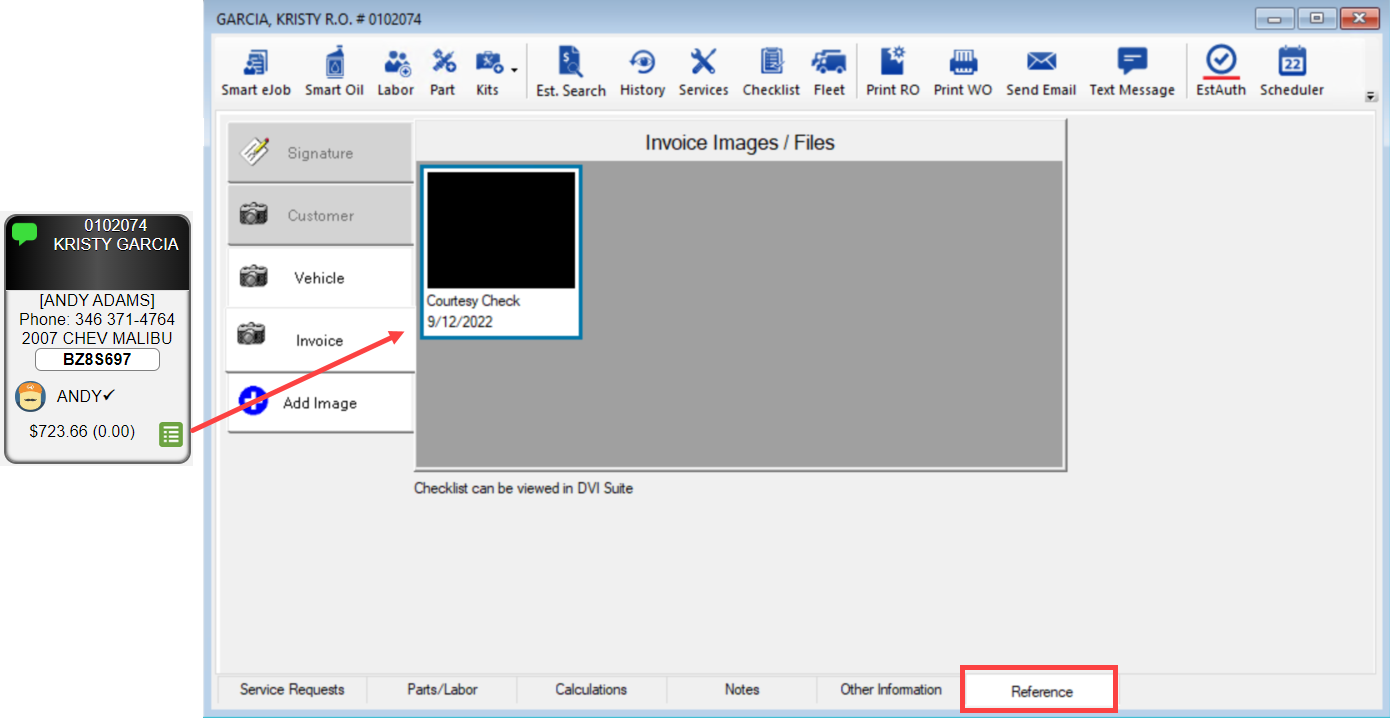
- One tile appears on the Reference tab for all checklists attached to the ticket.
- The checklist tile displays the name of the checklist and the date the checklist was added.
- If the content of the checklist is updated with changes in DVI, the date remains the date added.
To open the checklist, double-click the checklist tile.
- The detailed view of the checklist opens in your default browser window.
- If more than one checklist is attached to the ticket, the detailed view includes both checklists. Scroll down to see the second checklist.